How To: Vintage Stamp Collections
If I had to pick just one stationery trend that I love the most, it would be vintage stamps. Curating a collection is just magical. Collections can be based on a theme, color, or both.
As I was putting together a collection this weekend, I thought that I’d share with you my process.

Step 1:
Weigh and gather your stamps. Seems like a “no-brainer” start, but the USPS operates on weighted mail. Wedding invitations range from 1-2 ounces, and there’s a different amount of postage for one-ounce vs. two-ounces. Knowing how much your envelope is to start with, avoids that big, ugly “Return to Sender” stamp.
Then you can start collecting your vintage stamps. If you’re looking for someone who has already put in the work of collections based on color, I recommend Treasure Fox.
Step Two:
Gather Your Tools
For this operation, I pulled the know-how from watching my mom when I was a kid. We collected those green stamps from Piggly Wiggly which needed to be placed on a stamp card. So this technique dates back to the 1990s (gosh, that makes me sound so old!). But I digress - you’ll need a clean, damp sponge and a pair of tweezers.


Step Three:
Lay Out Your Collection.
Now that you know how much postage is going on your envelope, it’s good to know which stamp is going where. And that’s a lot easier to do when you have dry stamps!
Step Four:
Start Sticking.
Place your stamps on the damp sponge and press down lightly to activate the adhesive.


Step Five:
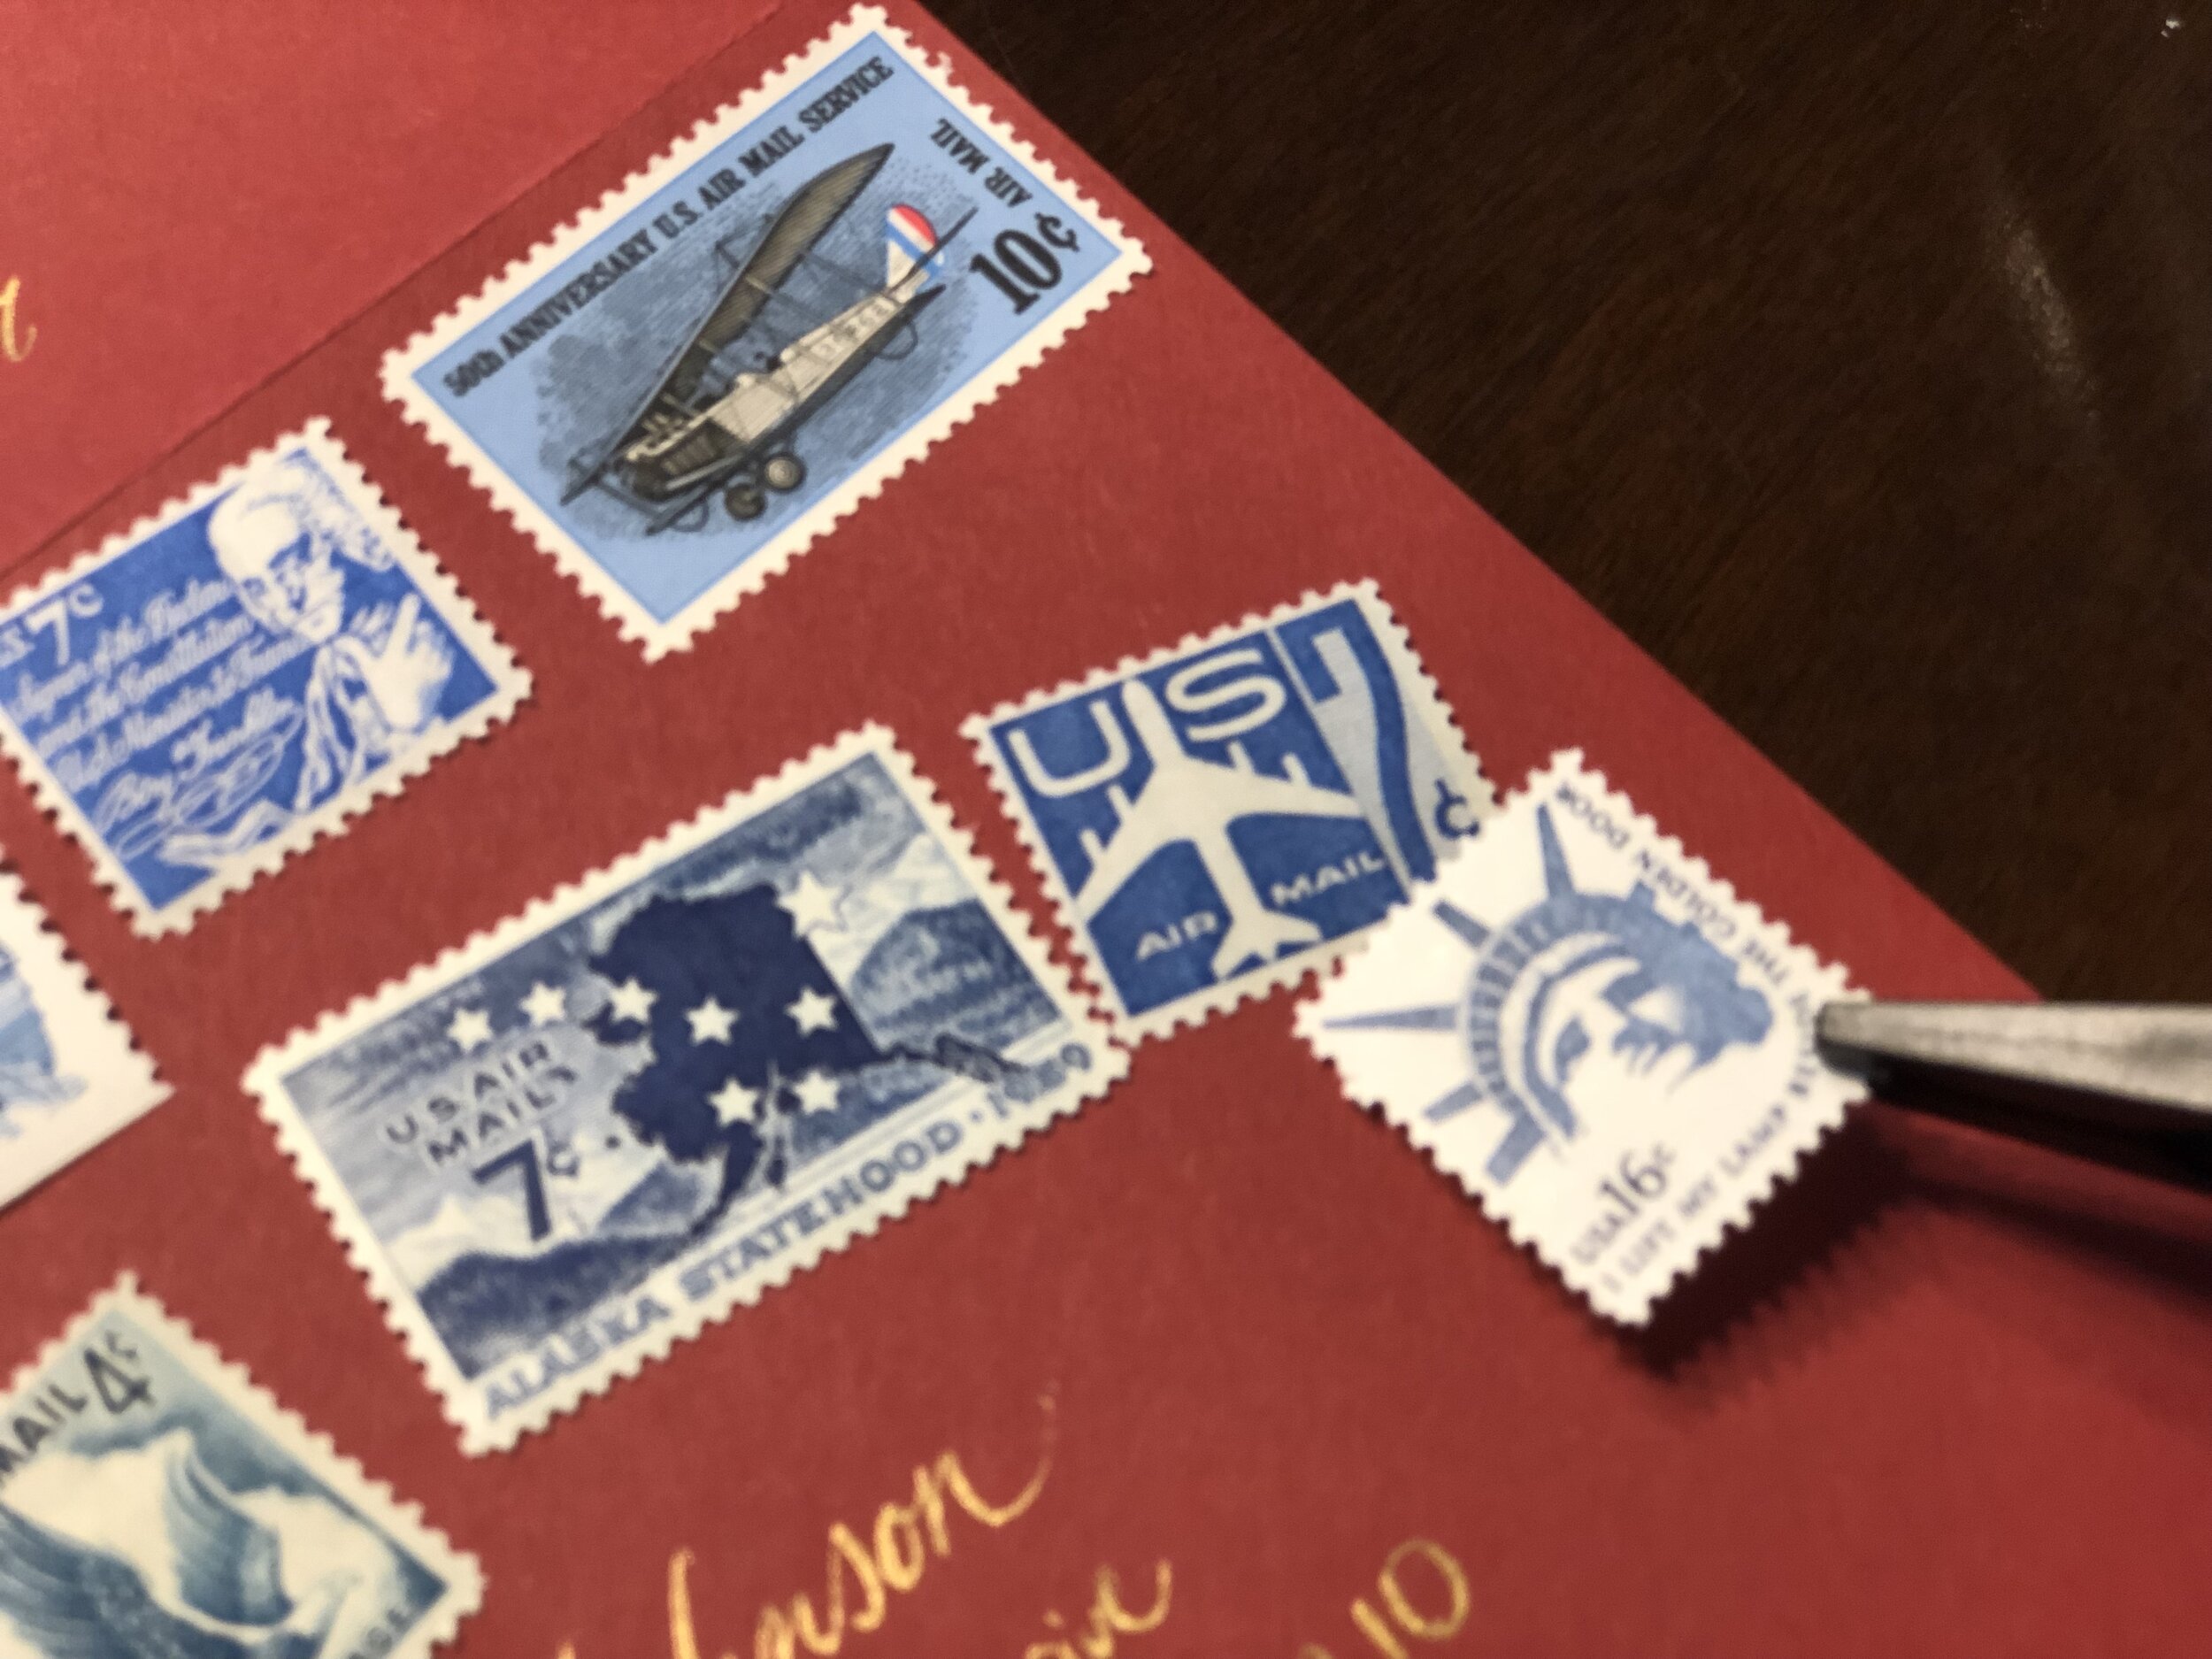
Transfer from Sponge to Envelope.
Pick up the damp stamp from the sponge using the tweezers on one corner. You already know where it’s going on the envelope, so you can act quickly to line it up and stick it down.
Step Six:
Apply Gentle Pressure.
You want to ensure that you have a good adhesion to the envelope, so press the stamp down gently to stick it on well.

Step Seven:
Enjoy Your Collection.
Time to take your pretty envelope to the mailbox (or the post office if you have a lot of wedding invitations to mail out!).

I hope that this was helpful. It’s really all about going into this with a solid plan, so you can work quickly and confidently.
After this step-by-step, will you be adding in some vintage stamps to your envelopes? What step-by-step would you like to learn next?